Delta Force: a practical guide to modes and beginner habits (2026)

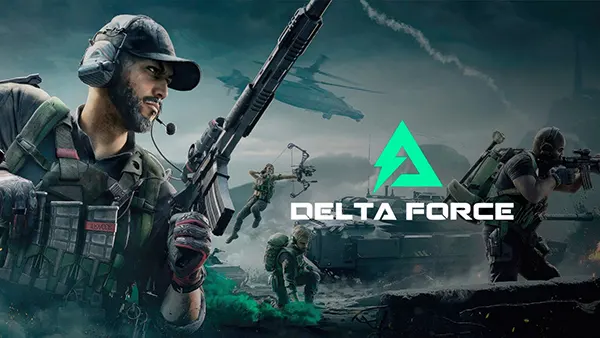
Delta Force in its modern form is built around three pillars: large-scale PvP battles, a tactical extraction mode, and the Black Hawk Down campaign. Each plays differently, so new players often struggle simply because they apply the wrong “rules” to the wrong mode. This guide breaks down what you are actually doing in each mode, what success looks like, and which small habits make the biggest difference in your first week.
Havoc Warfare: what wins matches in large-scale PvP
Havoc Warfare is the mode most people recognise immediately: big teams, big maps, vehicles, and a front line that constantly shifts. Your personal aim matters, but the scoreboard is usually decided by objective control, spawn pressure, and whether your team keeps its mobility and anti-vehicle options alive. If you treat it like a pure deathmatch, you will feel busy yet achieve little.
Start by learning one role properly instead of swapping every life. A safe beginner path is to play an objective-focused infantry build for the first sessions: stay with a small cluster of teammates, clear angles before crossing open ground, and prioritise holding strong positions that overlook capture points rather than chasing kills in empty lanes. You will get more consistent fights, more revives and assists, and a better sense of how the map “breathes”.
Vehicles are powerful, but they are also a trap for new players who overextend. Treat vehicles as a tool to take space and rotate, not as a roaming kill machine. If you drive in alone, you become a loud target with predictable routes. Move with infantry support, avoid stopping in obvious choke points, and disengage early when you hear coordinated anti-vehicle fire.
Beginner routine for Warfare: settings, positioning, and team value
Set yourself up for readable fights. Keep your sensitivity consistent across sessions, and spend ten minutes in a controlled environment warming up recoil and tracking before jumping into real matches. In large-scale modes, losing the first duel often comes from poor target acquisition rather than “bad aim”, so practise snapping to centre mass and maintaining control during sustained fire.
Positioning beats hero plays. Use cover as a rule, not a suggestion: move cover-to-cover, avoid skylining on ridges, and cross open areas only when you have a reason (objective timing or a safe flank). If you are repeatedly dying in the same lane, stop feeding that angle and rotate. A simple rotation at the right moment usually does more than winning a 1v1 you forced.
Make yourself useful even on off days. Spot threats, hold a flank, and keep a habit of playing around the objective timer rather than your kill counter. When you are unsure what to do, ask a practical question: “Where is our nearest safe spawn?” or “Which capture point controls the next rotation?” That mindset turns random running into purposeful pressure.
Hazard Operations: extraction fundamentals without the pain
Hazard Operations is an extraction mode: you enter a large area, complete tasks, fight AI and other squads, and then try to leave alive with what you found. The key difference from Warfare is the risk loop. You are not only fighting for the current gunfight; you are managing how much you can afford to lose and how consistently you can extract.
For beginners, the biggest mistake is taking your “best kit” into your first serious runs. Build a reliable baseline loadout you can replace easily, then improve it gradually as your survival rate rises. Your early goal is not heroic wipes; it is learning routes, timings, and how noisy different actions are. If you can extract two runs out of three, you will progress faster than a player who wins one big fight and then loses four expensive kits.
Information wins extraction fights. Move like you expect to be heard: sprint only when you need to reposition, and pause to listen when entering new sectors. Learn common extraction routes and likely ambush points. If your squad keeps getting caught, it is usually because you arrive late, take the obvious path, or try to loot after you have already attracted attention.
Beginner routine for Operations: economy, comms, and survival decisions
Run a simple economy rule: only increase your kit cost when your last five runs show stable extractions. If you die twice in a row, step down the gear value, not up. This keeps your decision-making calm, because you are not panicking over lost equipment. Calm players rotate better, hold angles longer, and take smarter fights.
Use short, useful callouts. “Two at the red building, one on roof, rotating left” is better than emotional commentary. Also agree on a default plan before you load in: primary objective, secondary objective, and an extraction preference. When the plan is set, mid-fight decisions become easier because everyone understands what is worth risking.
Pick your fights. If you have valuable loot, you do not need to prove anything—break contact and extract. If you have nothing and want practice, take fights deliberately near cover with an escape route. The best habit is to decide your risk level before the fight starts; doing it after shots are fired is how squads get wiped for no real gain.

Black Hawk Down: campaign play that teaches you good habits
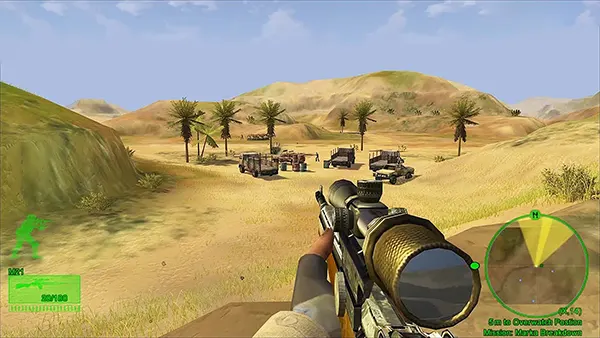
Black Hawk Down is the campaign side of Delta Force, built around set-piece missions and structured combat challenges. It is a different pace compared with the open-ended chaos of PvP and extraction. For new players, the value is simple: it helps you practise movement, clearing rooms, and using angles under pressure without the randomness of player spawns.
Approach each mission like a skills drill. Focus on clean peeks, maintaining spacing with teammates, and prioritising threats. If you rush, you will take damage from angles you did not check. If you play too slowly, you can get pinned. The “correct” tempo is usually methodical movement between cover, with short bursts of aggression when you have a clear advantage.
Use campaign runs to standardise your fundamentals. Keep your crosshair at head height, avoid reloading in the open, and learn to retreat a step to reset a bad engagement. Those are transferable skills. When you later return to Warfare or Hazard Operations, you will notice you take fewer unnecessary hits, and you will win more first duels simply because your discipline improved.
Beginner routine for the Campaign: co-op roles, pacing, and improvement checks
If you play co-op, assign simple roles instead of everyone doing everything. One player anchors and covers the team’s retreat, one clears forward angles, and one manages utility or focuses on revives and stabilising. You do not need complicated tactics—just reduce chaos by giving each person a default job.
Control your pacing. When you enter a new area, stop for a second, scan, and only then commit. Most beginner deaths come from entering rooms at sprint speed and trying to react after the fact. Make it boring on purpose: check corners, clear one sector at a time, and keep an exit route in mind.
Track improvement with three simple checks: are you dying less to unseen angles, are you taking fewer fights without cover, and are your reloads happening in safe moments? If those three get better, everything else follows—aim, confidence, and consistency. When you return to PvP, keep the same discipline and you will feel the difference within a few sessions.


